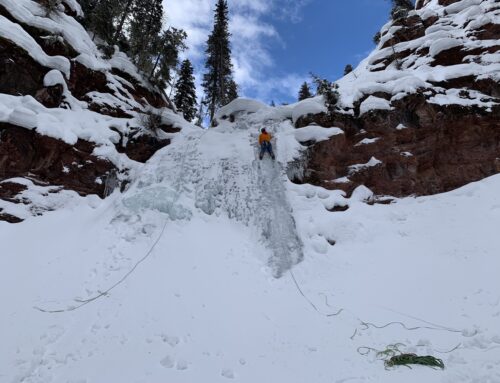
For anyone who loves the outdoors and tramping through snow, using snowshoes can make your adventure safer and more exciting at the same time. When you use snowshoes, you are able to spread your body weight across a larger surface area. This ensures that you do not sink into the snow, thereby making it a lot easier for you to walk on the snow. While there are many different snowshoes out there that you can purchase, it can add a little more excitement if you make your own snowshoes yourself. Another benefit to making your own snowshoes is that you can save money.
Materials Needed to Make Snowshoes
The first step in making your own snowshoes is to gather up all of the materials you will need. If you choose to use the traditional material that the Native Americans used, you will need Ashwood split to make the bows, along with scrap wood for the jig form for shaping the bows of the shoes. You will also need material for making rawhide (or rawhide itself) and a large sheet of paper for cutting the pattern.
Marking the Pattern
First, fold the large paper diagonally across. It will mark the center of the shoe base. Next, decide how long you want the shoes to be. Then, identify the point that is 3/8ths of the length or around 12 inches on the diagonal. This will be the wide part of the shoe.
Make the Form and Select the Wood
The next step is to make the form that will help you bend the wood to the desired shape. Make sure the wood is at least seven feet long and ¾ of an inch thick. Use a draw knife to make the sides smooth. Next, wedge the strip of wood between the wedges and allow to dry. Next, you will need to insert crossbars, and either use rawhide lacing or neoprene webbing on the snowshoe.


